One afternoon the Roomba i7 was dead on its charging dock. No blinking lights. Pressing Clean did nothing.
Battery was dead and dock was not sending it power. We were now looking at the whole charging system from dock to battery. We first checked if the dock was getting power.
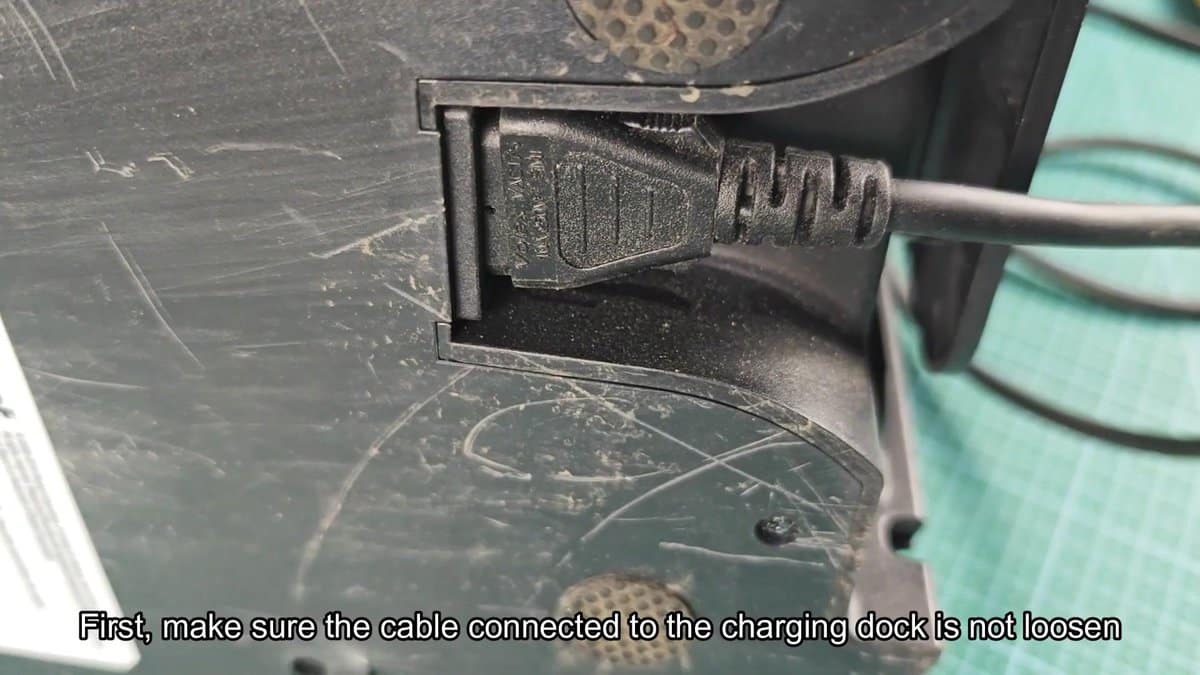
Cable going into back of dock was pushed in tight so connector was seated.
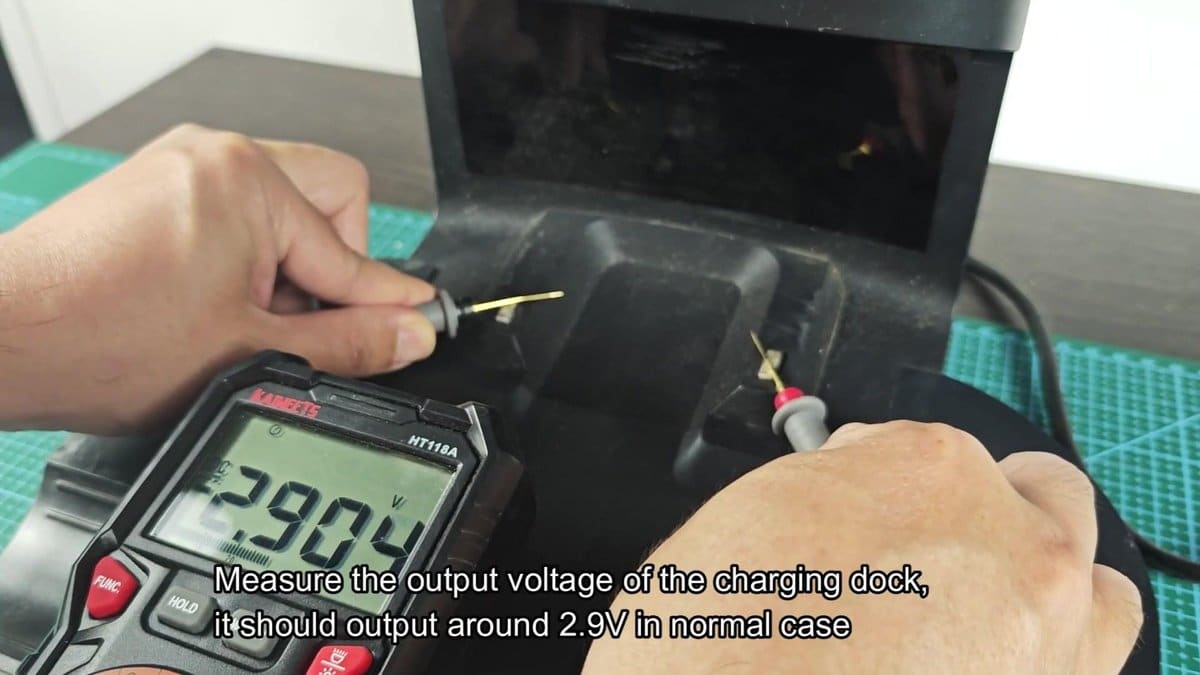
Initial reading was 0.013 volts, that made no sense. When I moved the probes again the UNI-T multimeter read 2.906 volts. The another test showed 2.90 volts too.
The dock was working as it should.
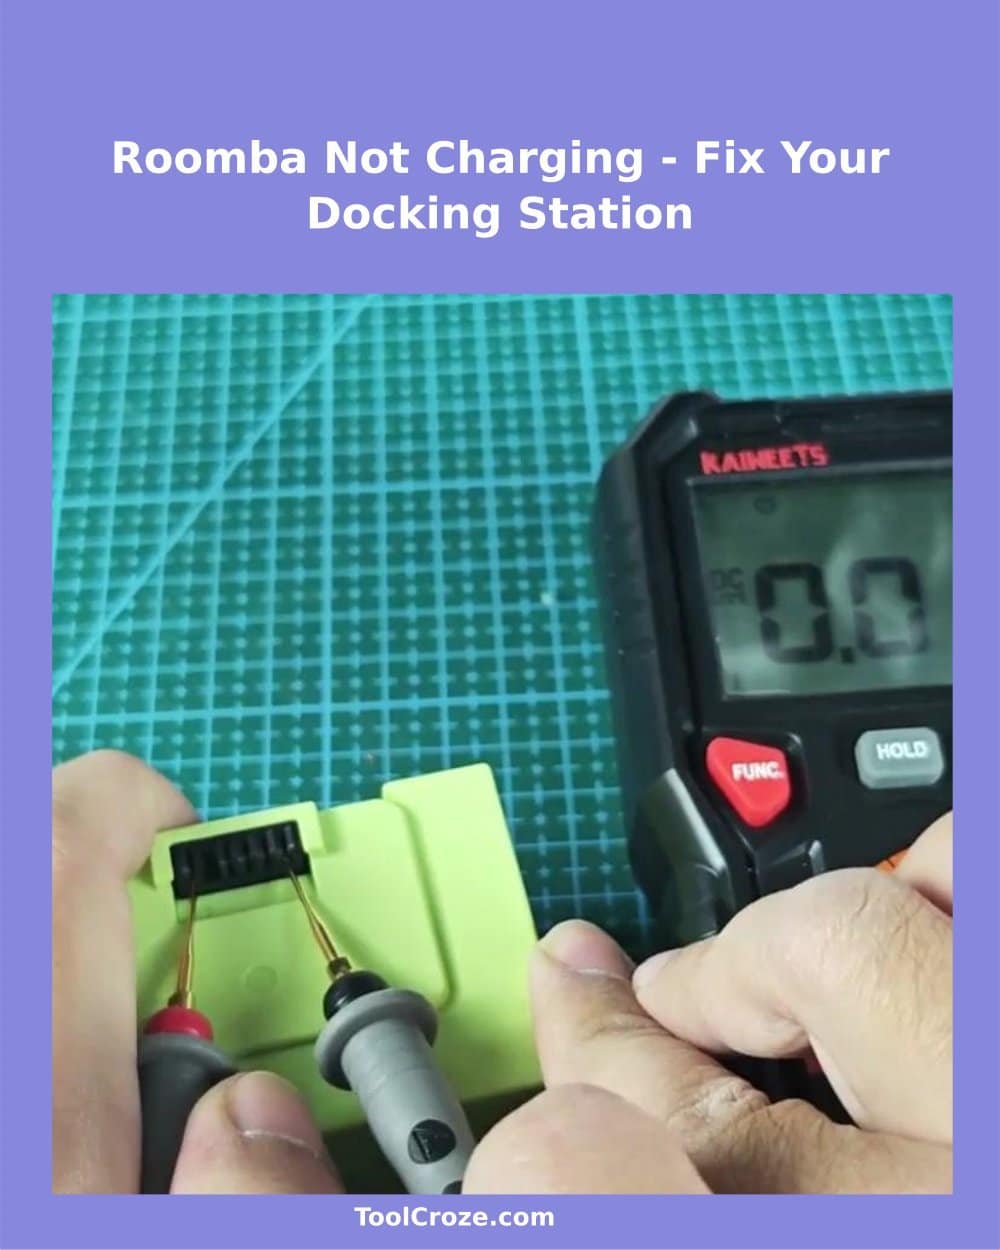
How to Diagnose and Jump-Start a Roomba That Won’t Charge
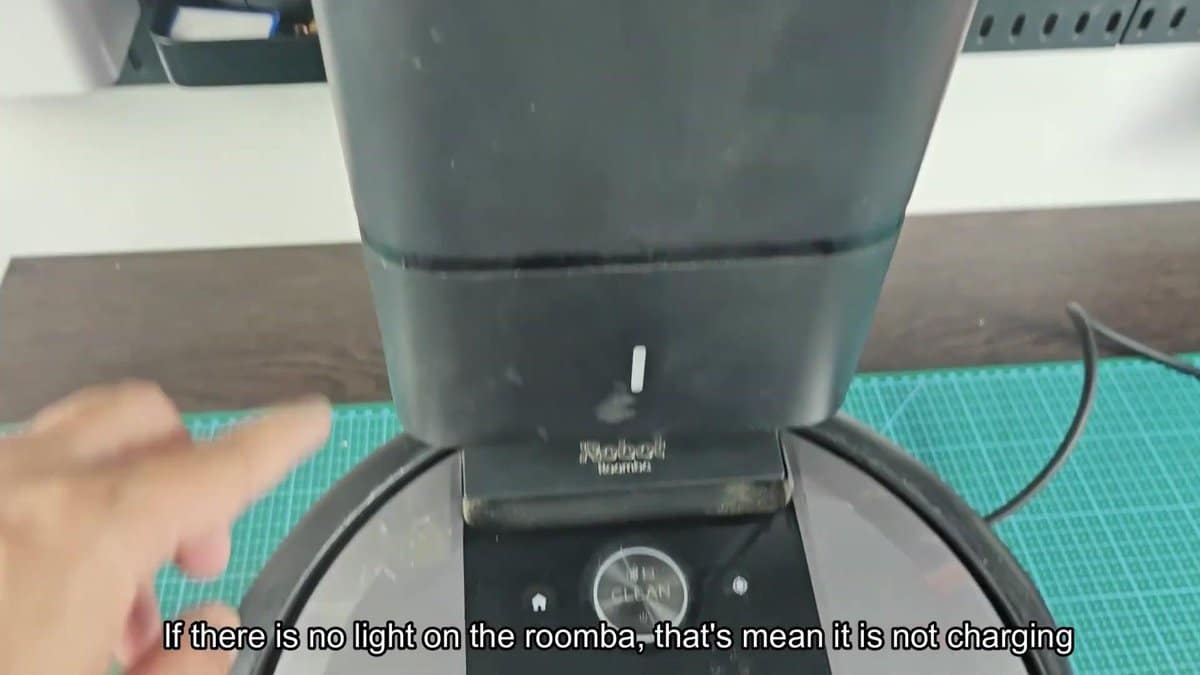
The dock looked good so we moved on to the Roomba. Put it back on charging contacts and nothing happened… No light around Clean button, no glow from home icon.
The familiar pulsing ring that appears normally on a dock? Completely absent. No indicator light ever flickered to life.
That led to one clear conclusion: The dock gave the right voltage but the robot was not charging.
Charging contacts might not have made good contact. Lifting up the Roomba a bit on the dock and then wiggled it a little moved the metal contact points on the robot closer to the dock pins. Still no lights went on.
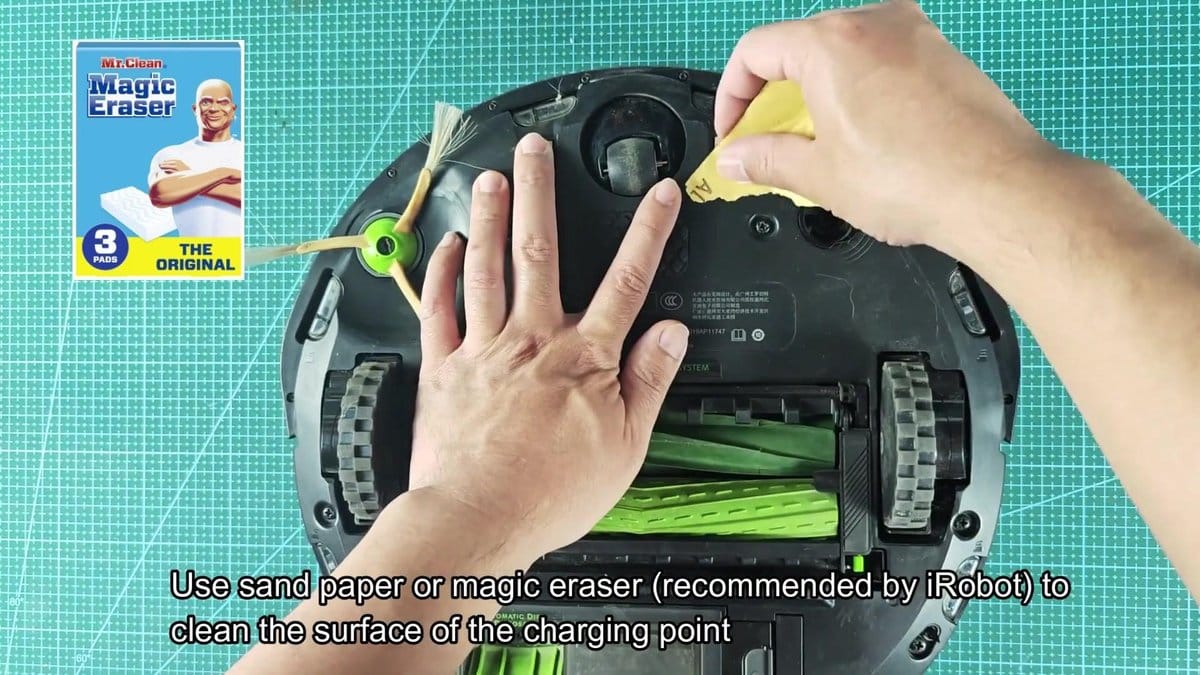
The problem may be with the charging points themselves. iRobot recommends cleaning contacts with fine sandpaper or a Mr clean Magic Eraser. It seemed sensible to start with the two metal charging pins on the dock. Buildup & oxidation were removed by rubbing sandpaper over both contacts.
A very thin film of dust and residue was on the surface, it was easily removed.
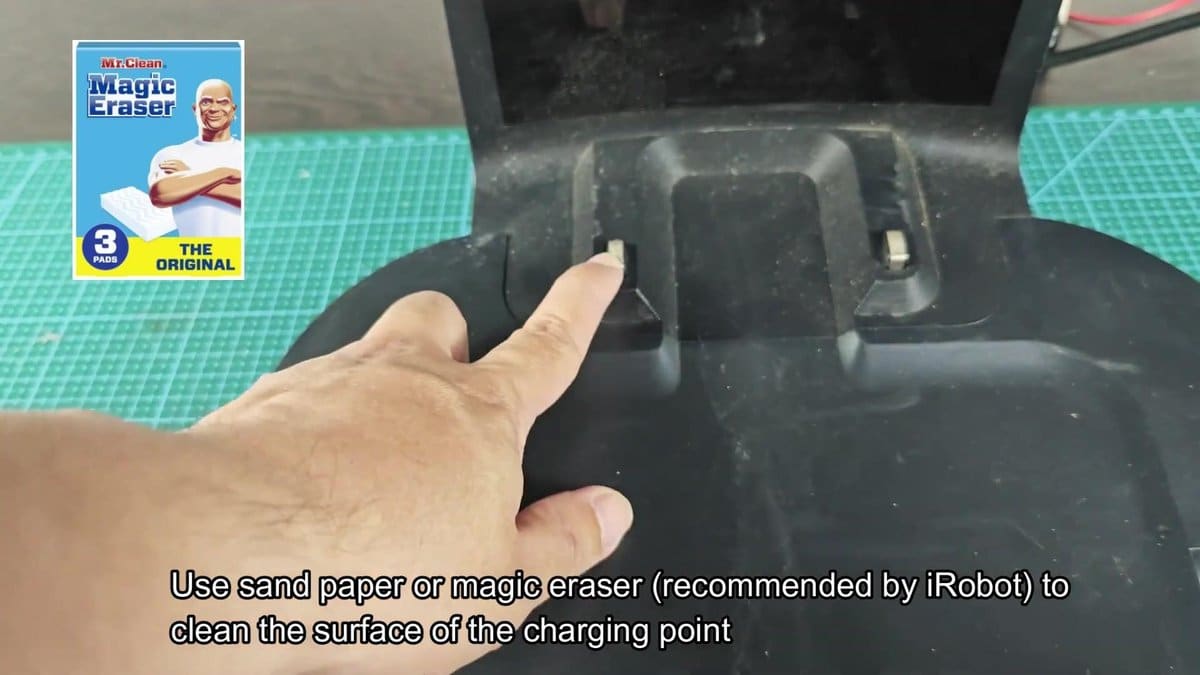
To clean the dock contacts the Roomba had to be turned upside down to reach the charging points underside. Metal contacts near the front of the vacuum got cleaned too with a Magic Eraser. Those contacts had more dirt than the dock pins but elbow grease got them clean again.
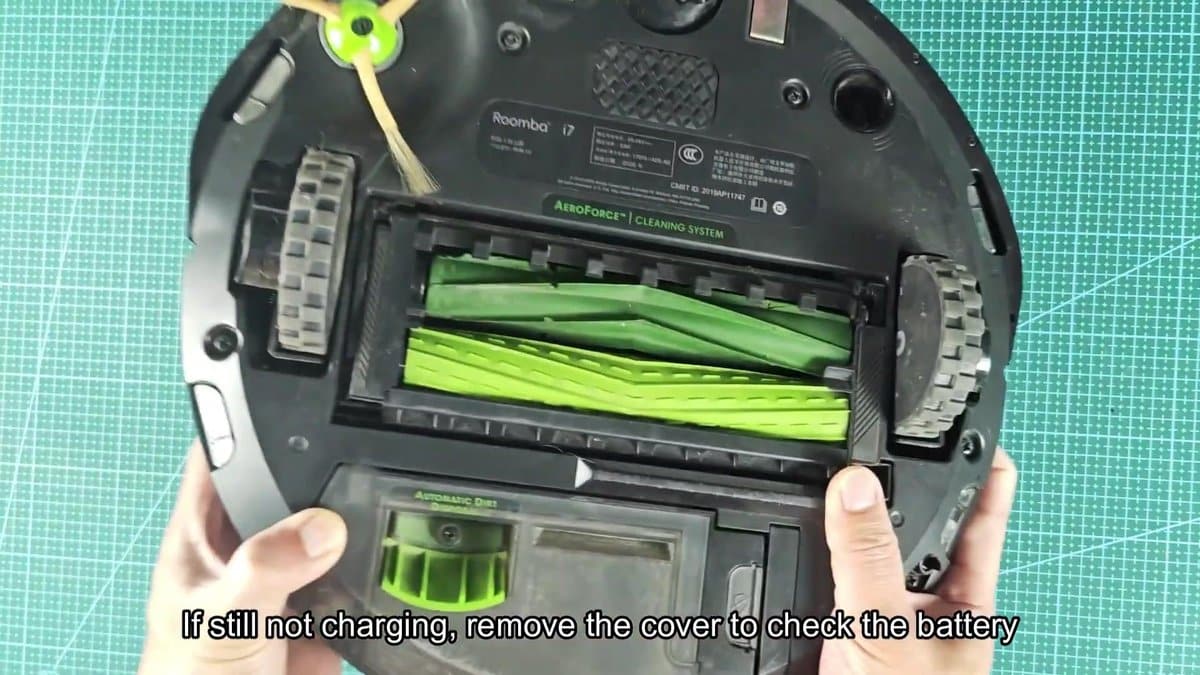
Cleaning both sets of contacts and then putting the Roomba back on the charging dock showed nothing… No lights, no charging activity whatsoever. Dirty contacts or a bad dock were clearly not the problem.
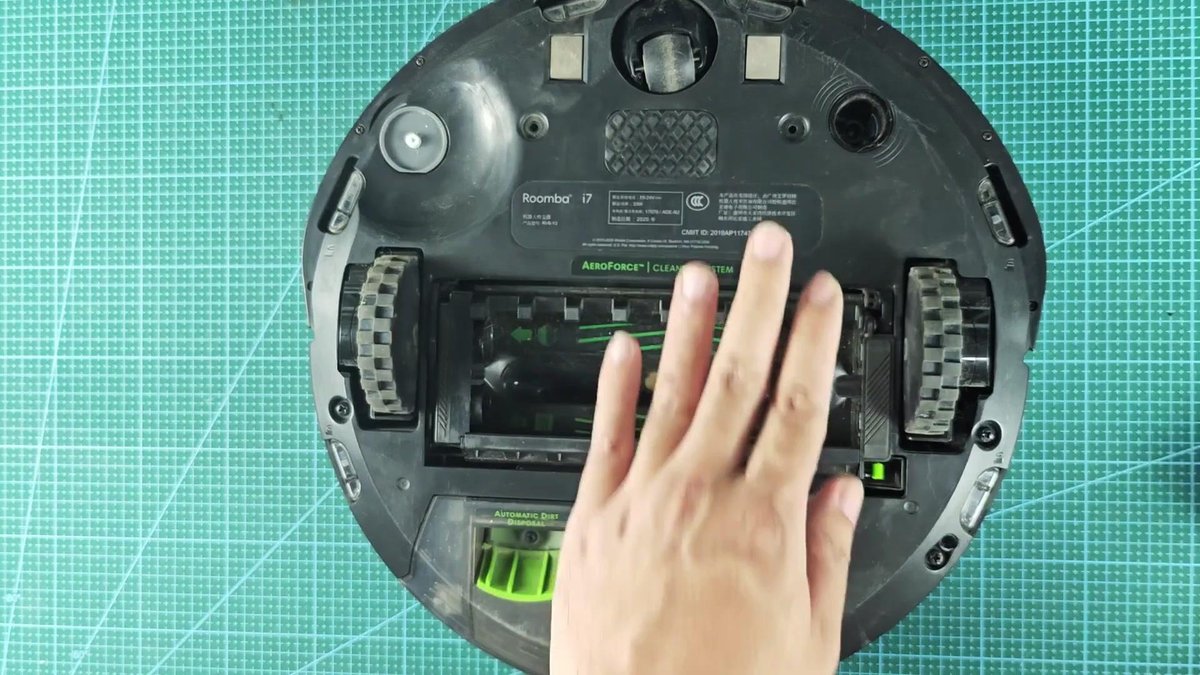
It showed that probably the problem was with the battery, and the only way to test it directly was opening up the robot. Flipping the Roomba over again revealed the left side brush mounting screw. Use a screwdriver to remove the screw holding part of the bottom cover in place.
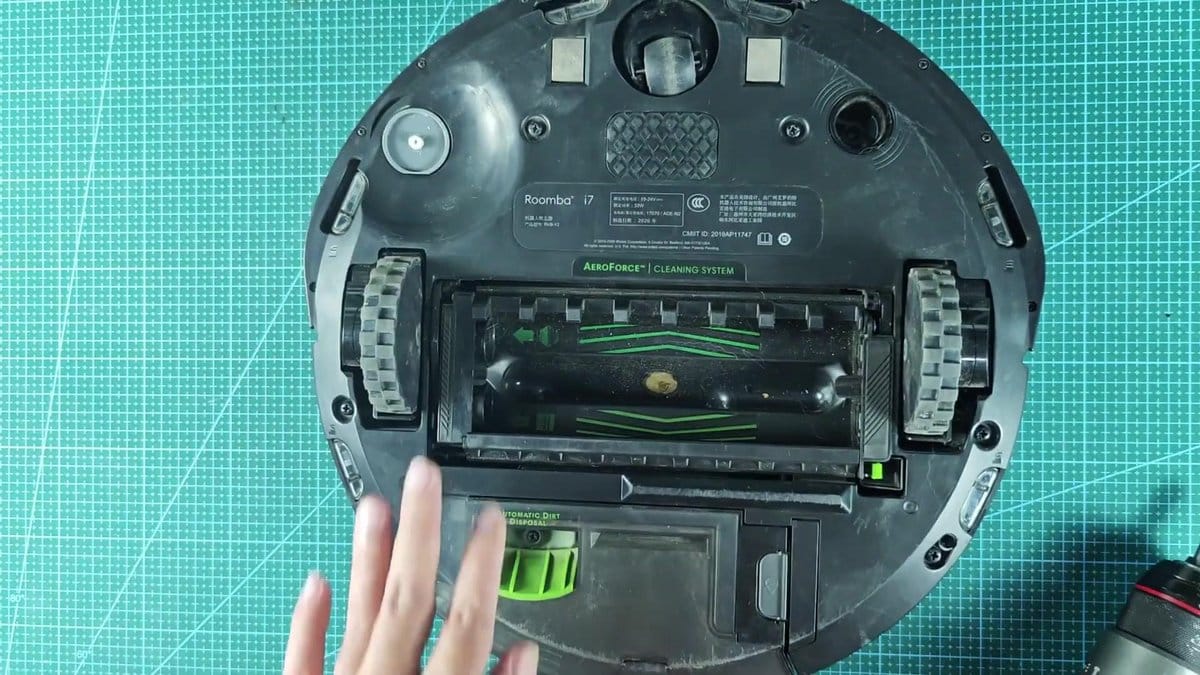
Once the side brush screw was out of the way there was only the main brush compartment to clean. Pressing release tabs released both green AeroForce cleaning rollers out of the way for bottom cover removal.
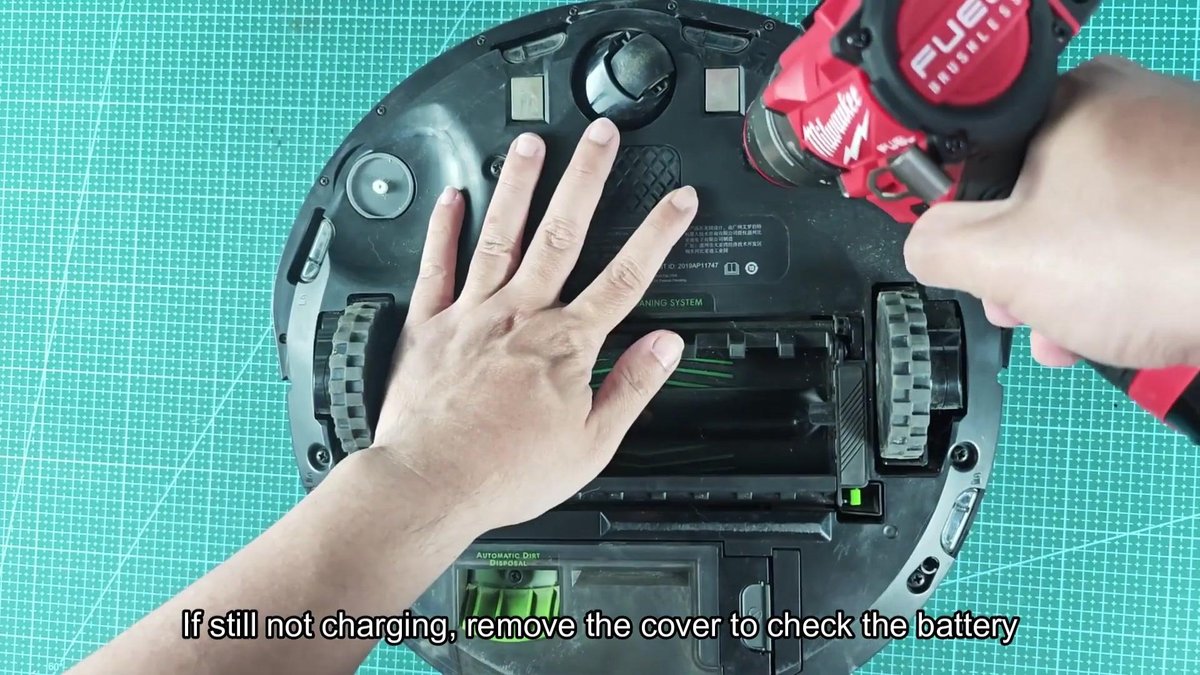
I got my Milwaukee Fuel cordless driver out and worked on the screws holding the bottom cover to the main chassis.
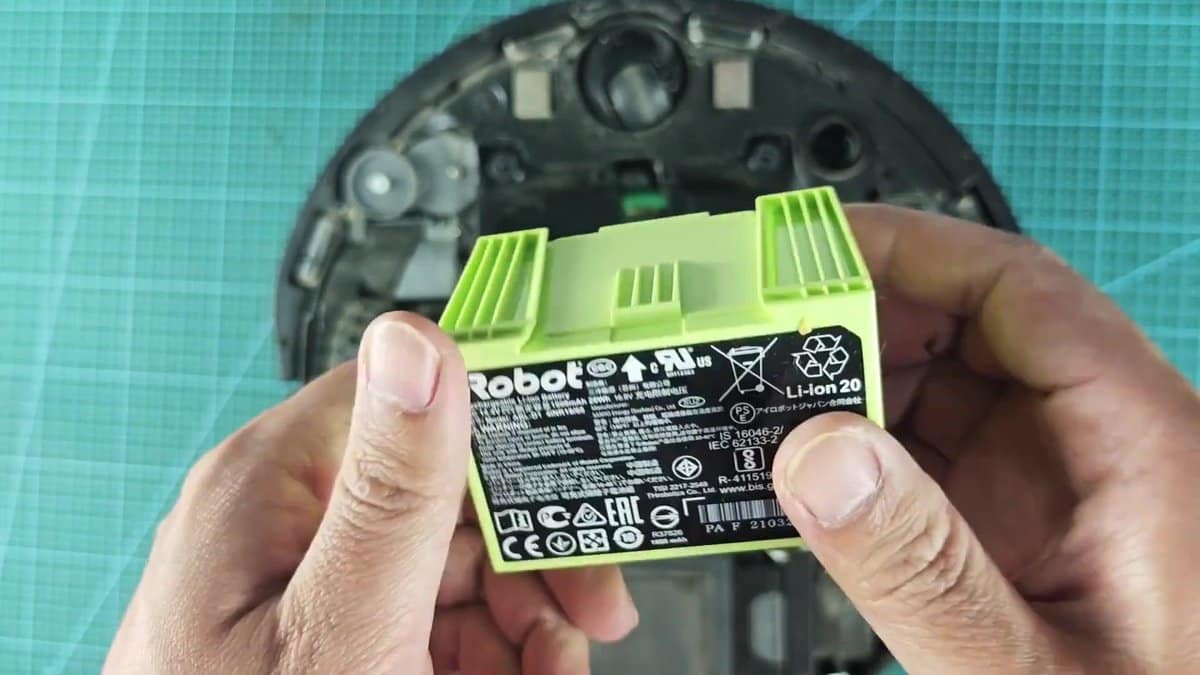
I loosened each one going around the edge until the cover came free. It lifted away and everything inside was exposed like the battery pack .
Its battery pack is a plain light green rectangle with an iRobot label on it. Take it off & read the stats on the label: DC 14.4V / 1800mAh / 26Wh. It is a lithium ion battery, with different certification marks and model Li-ion 20.
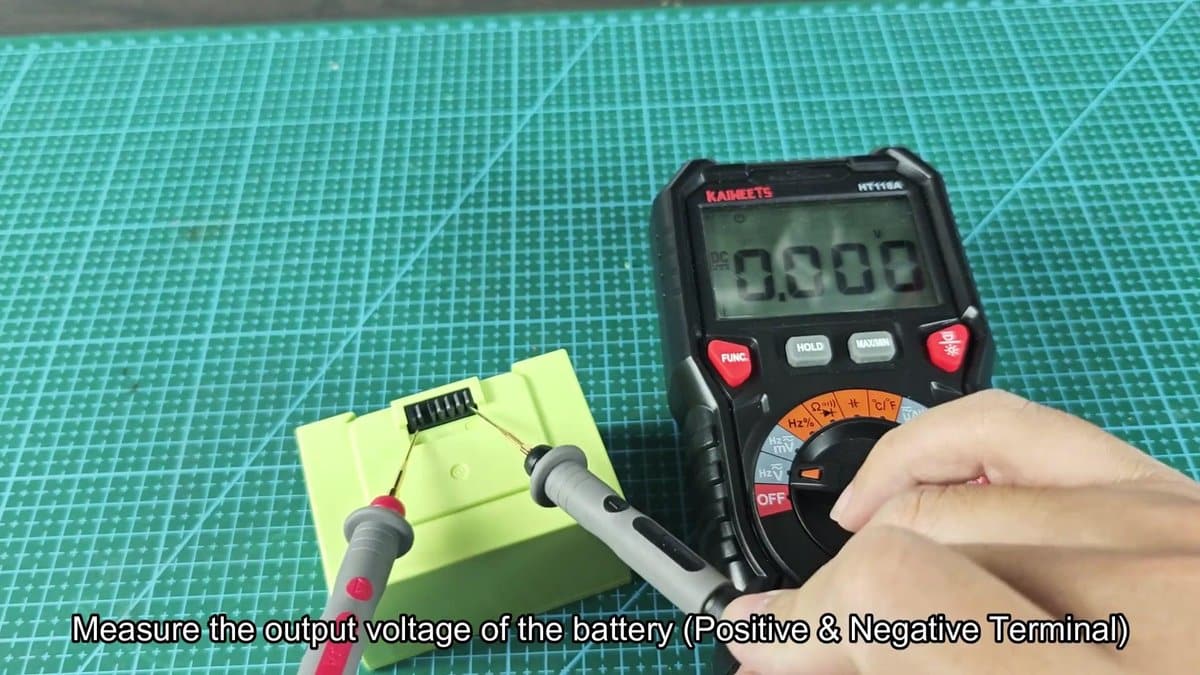
Good battery will give about 14.4 volts on a multimeter test of the terminals.
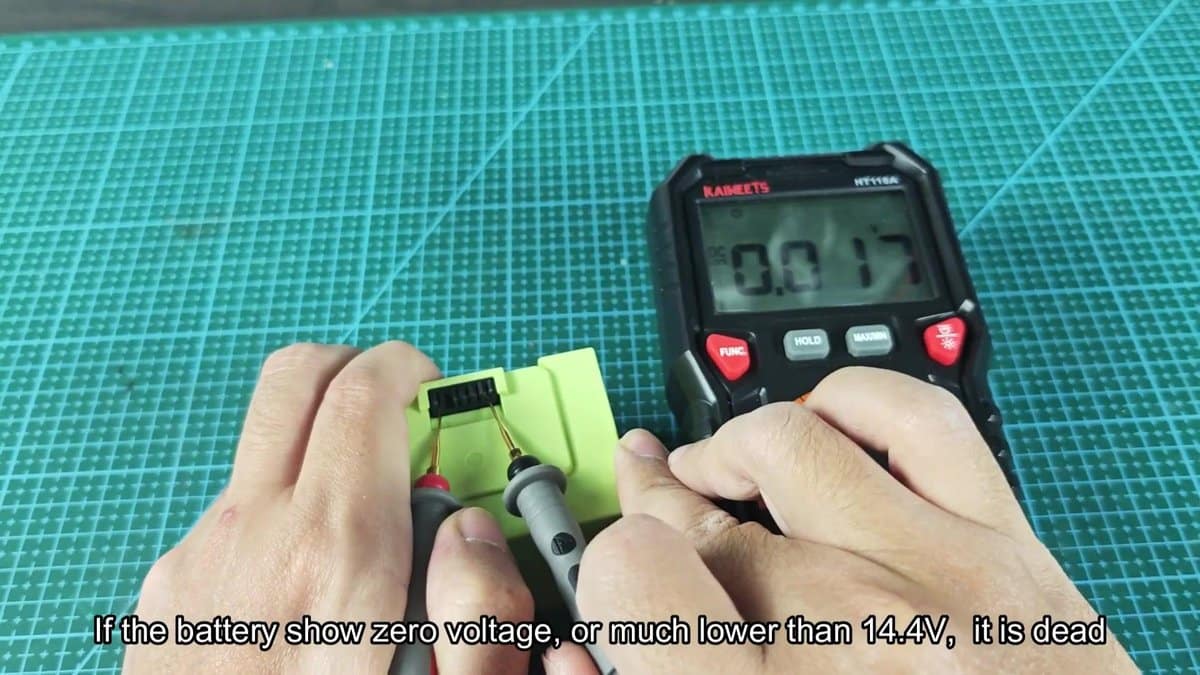
Probes from the multimeter were hooked up to positive and negative terminals of battery. The KAIWEETS meter read around 9.005 volts straight away. That is way too low for a 14.4 volt battery; nowhere near what it should be putting out.
A reading that far down means the battery has dropped below the point where the dock's standard charging circuit can get it back. At that stage the battery was dead.
Lithium ion batteries have protection circuits that activate when voltage drops too low. Once that happens, standard charging methods won't work anymore. The solution?
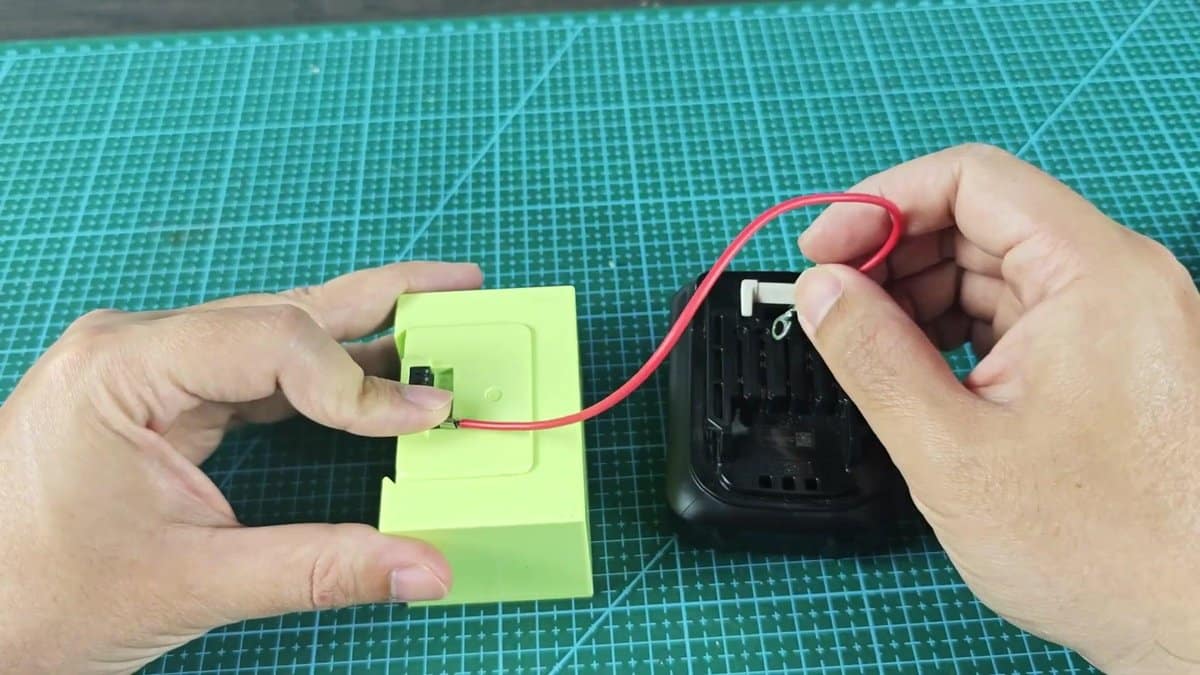
Jump starting the battery with an external power source. A 12-volt lithium tool battery was in the workshop, just what I needed. Really any tool battery from 12 to 14 volts will do this.
Two wires were prepared with ring terminals on both ends. Red wire went to the positive end of the Roomba battery pack and black went to the negative. Next came the choice of positive and negative terminals for the 12-volt tool battery.
Getting polarity wrong would fry the battery or start a fire, so care was needed.
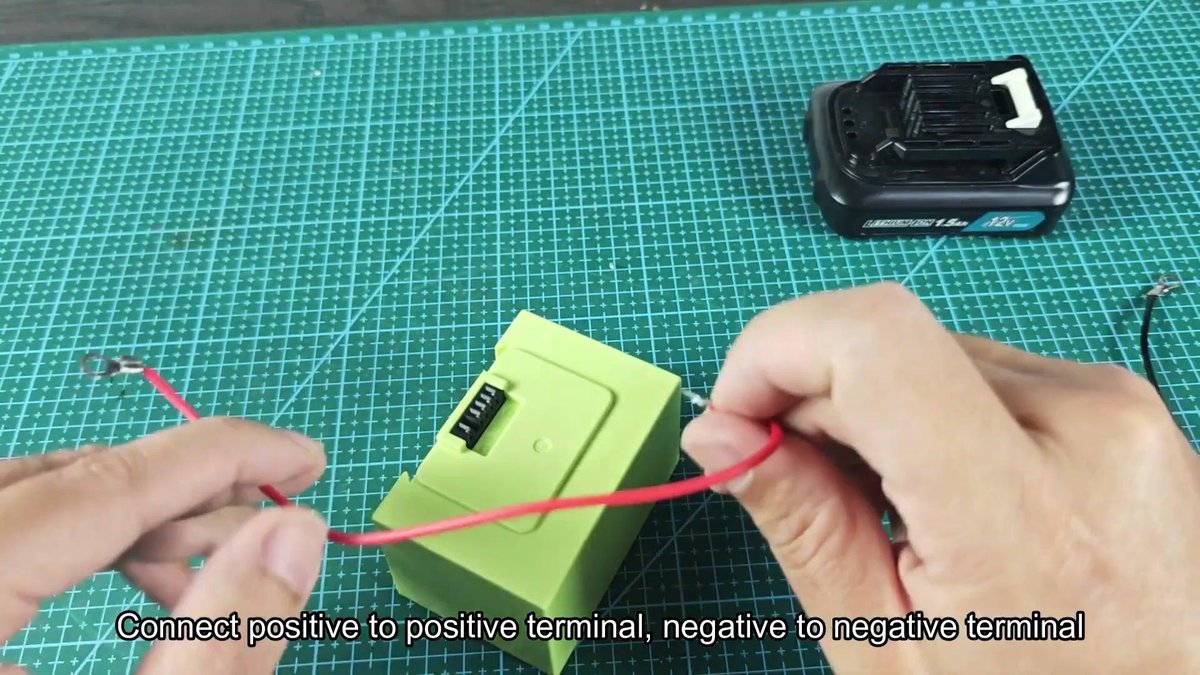
The other end of the red wire was connected to the tool battery positive terminal and the black wire to its negative terminal. That set up a straight line between the batteries. Current from the tool battery would flow into the drained Roomba battery, raising its voltage to where the protection circuit would let it work again.
Keep two batteries connected for about 15 seconds. During all of this watch those wires like a hawk. When any wire gets warm, melting or smokey, unplug everything.
When polarity is reversed or some short circuit is going on somewhere those wires can overheat in seconds. Thankfully the wires stayed cool during the connection.
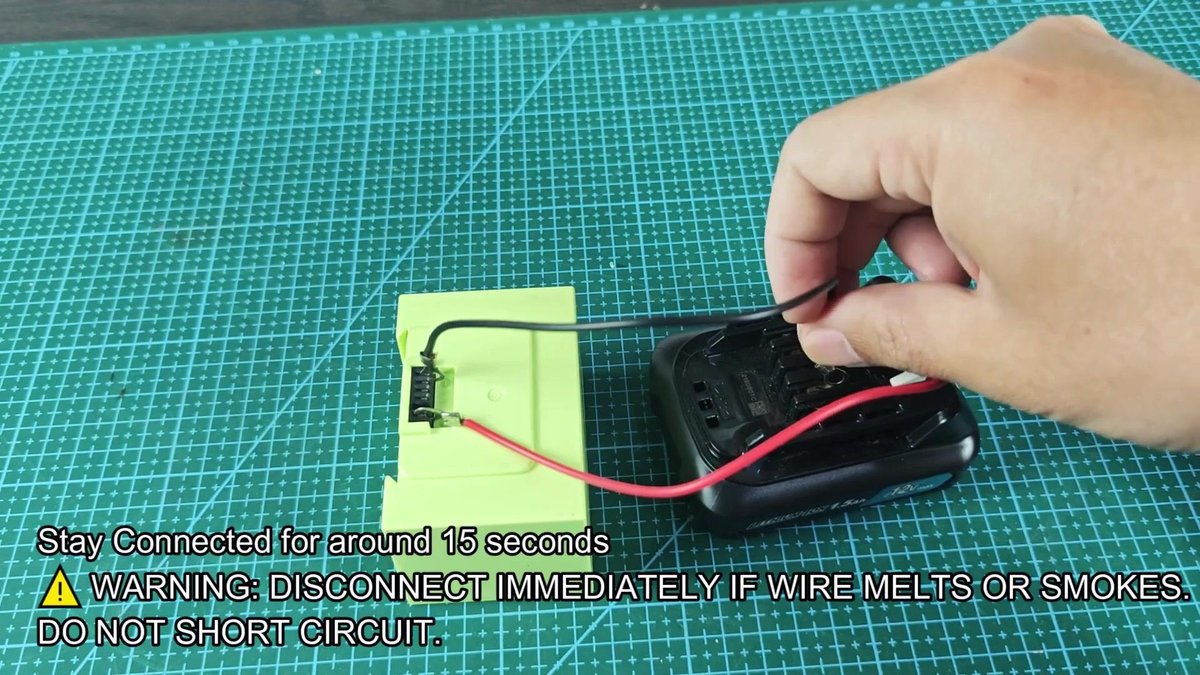
After 15 seconds the wires came off the tool battery. One quick voltage check on the Roomba battery showed it came back to a workable reading. So what happens here is the jump start tricks the protection circuit into thinking there's enough charge so current can flow back through the normal charging system again.
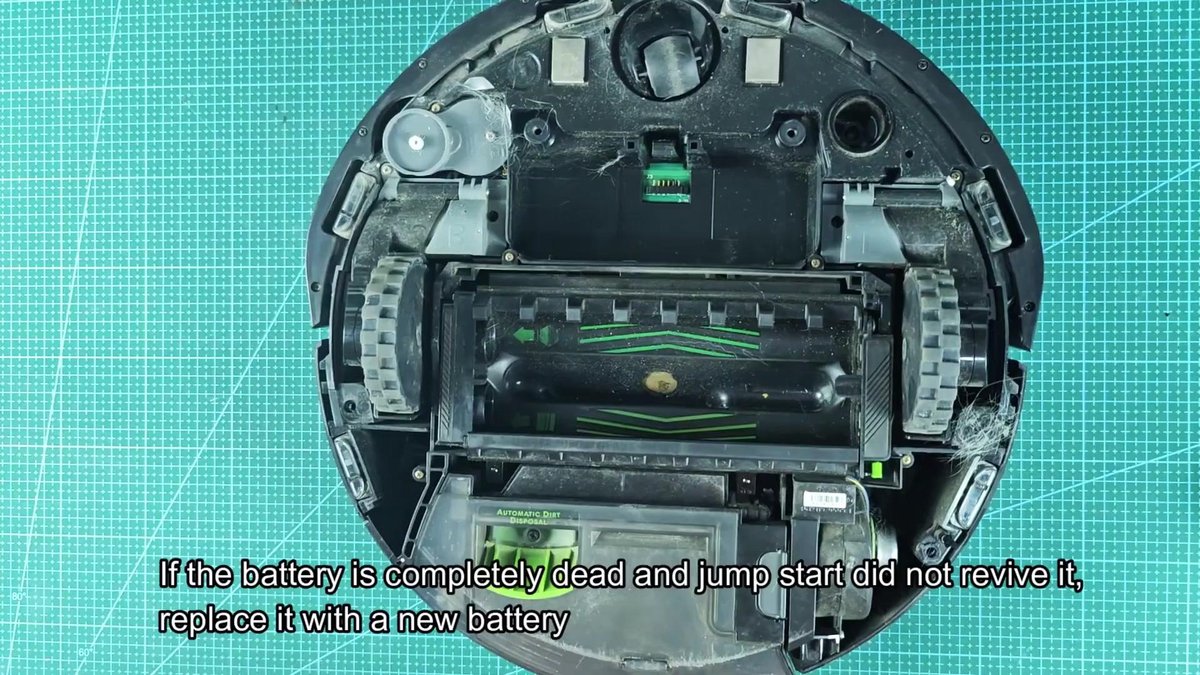
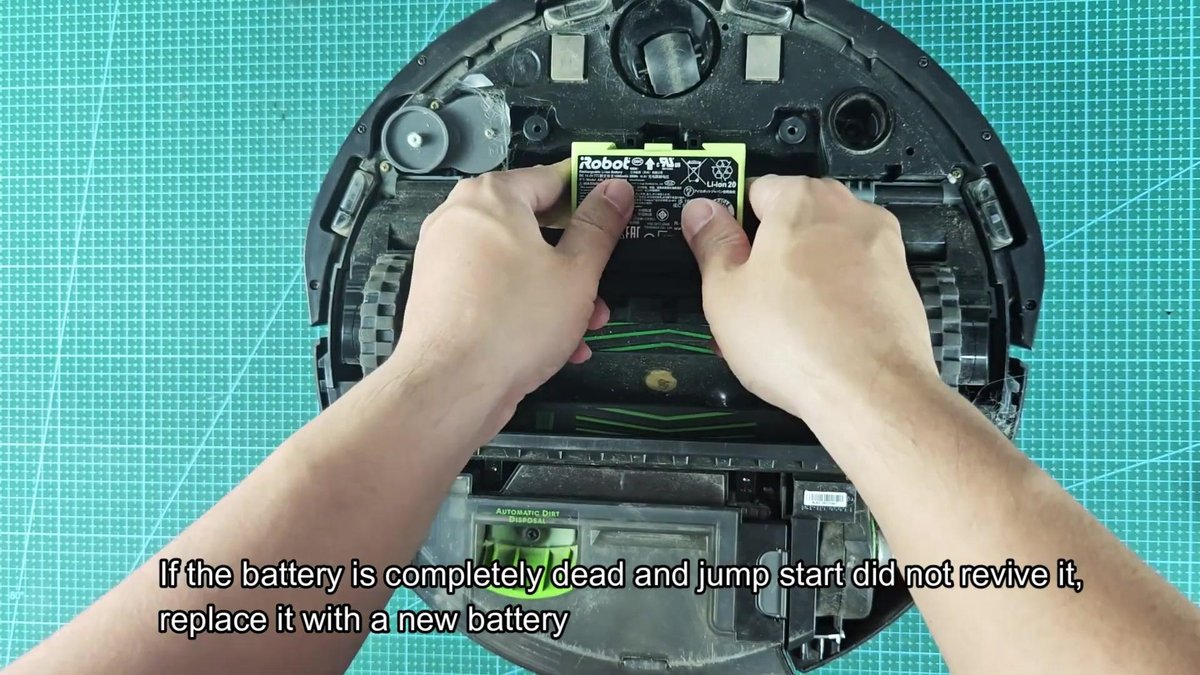
Once that has happened, put the battery back on the dock and it should charge normally. Now if jump start does nothing or battery voltage stays near zero after a try then replacement is the only way forward. There is no bringing a battery back to life once it cannot jump start.
So you're stuck with ordering a new battery pack and swapping it in the Roomba then.
It was put back in the Roomba battery compartment when it showed some life from the jump start
All the screws in the bottom cover went back in. Each one had to be snug but not tightened… Plastic housing cracks if you overtighten.
Once all around the edges was secured, the two green cleaning rollers went back in the brush bay and the brush compartment cover clicked shut. So finally the side brush was threaded back on its mount and locked down with its screw.
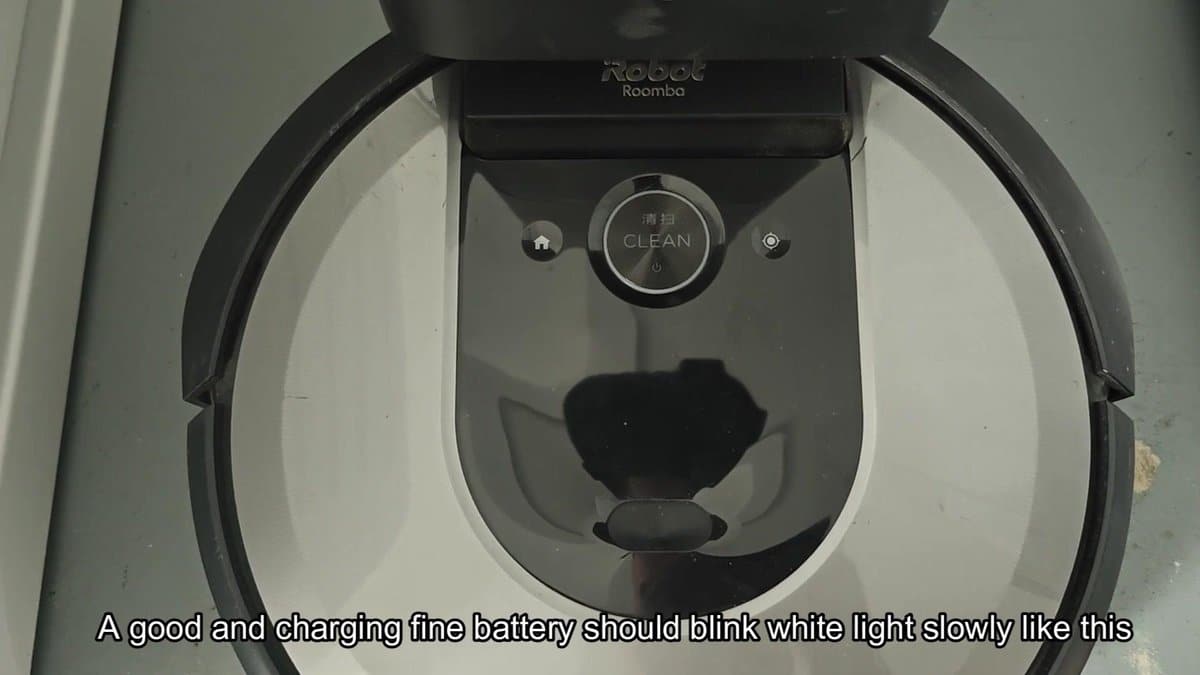
Placed the Roomba back on its charging dock, we went to the Clean button area. A white light ring around the button appeared shortly after and began to pulse slowly. That slow white glow is how a Roomba with a good battery starts charging.
It turns on and off slowly so power is getting to the battery and charging has started.
Watched light blink a few times to make sure everything was charging ok. It cycled like this, bright flash then darkness then more light. That steady pulsing style went on and on.
Everything looked good: The battery was taking the charge fine and the Roomba was back up and running.
After doing all the troubleshooting steps it appeared that the charging dock was working fine all along. The real culprit? It was so discharged that the battery protection circuit could no longer accept a normal charge.
Battery only needed a jump start to get it going again and everything worked fine after that.
