I have been using Ryobi tools around my house and garage for years now, and one of the things I really like about them is how easy swapping batteries are among the tools.
Since some my tools use a 40V battery it is easy to put them to charge using the same charger and using another battery in the meanwhile.
But recently, I ran into a very frustrating problem when the charger itself decided to give me a hard time and stopped working.
At first, I thought it was a battery giving me trouble but after trying a couple of different battery packs, it became clear that it was the charger that was at fault.
What to Do if Ryobi 40V Charger Itself Not Working?
I use these batteries for all my lawn and garage power tools so I knew I had to get it sorted out fast, so this is what I did and how you can troubleshoot if your charger runs into a similar issue.
Scenario 1: Light is on but not charging
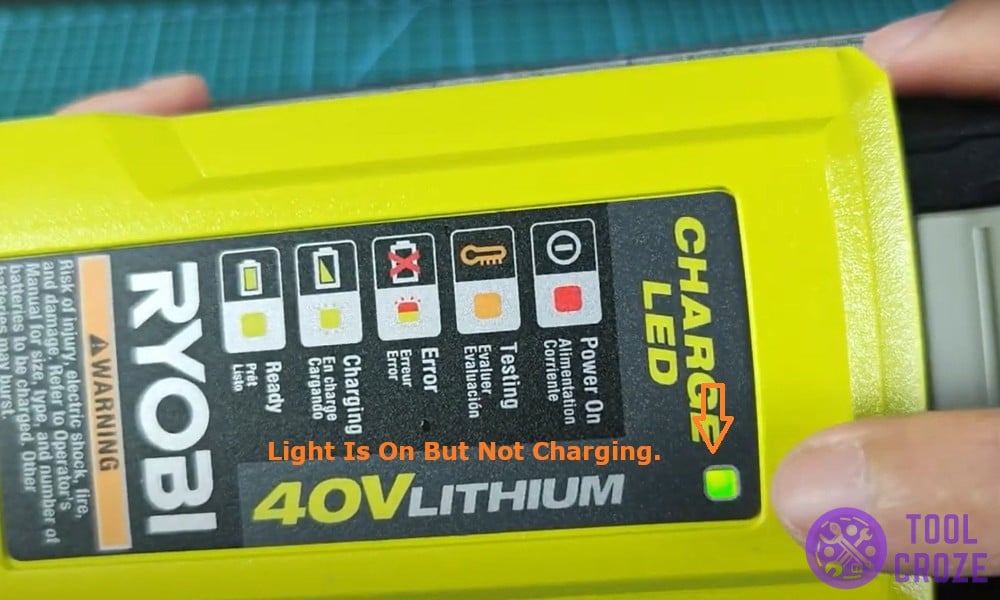
This has happened to me a couple of times before when the charger is still flashing a light but the battery is not charging.
Once, I plugged the battery in as usual and it started flashing a red and green light on the display which I mistook for a charger issue but after reading the manual, I found out that it is a battery malfunction and I need to reset it.
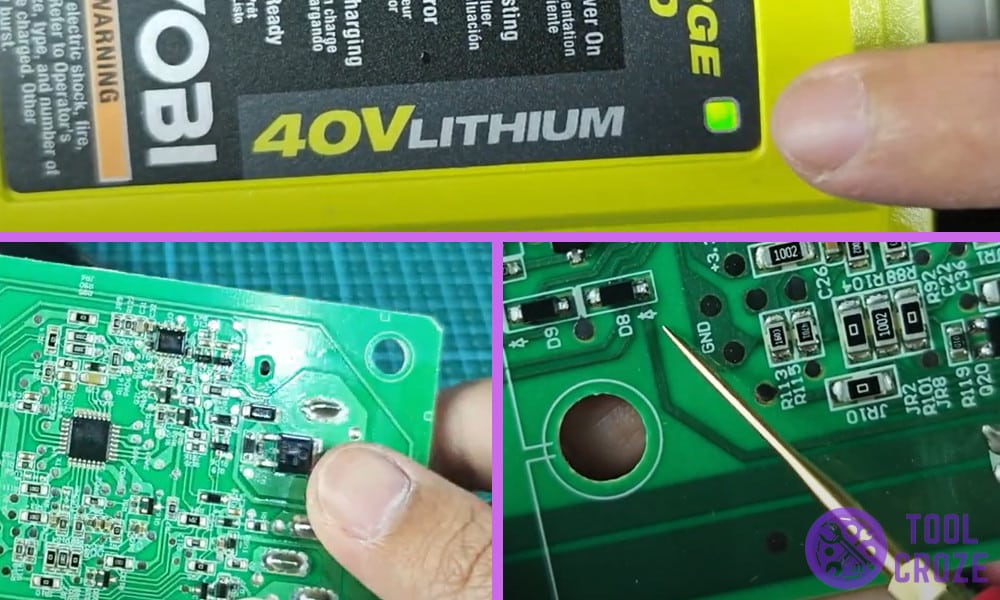
To do that, the first step was removing the casing on the battery to access the circuit board inside, so I grabbed a screwdriver and carefully unscrewed all the screws holding the casing together.
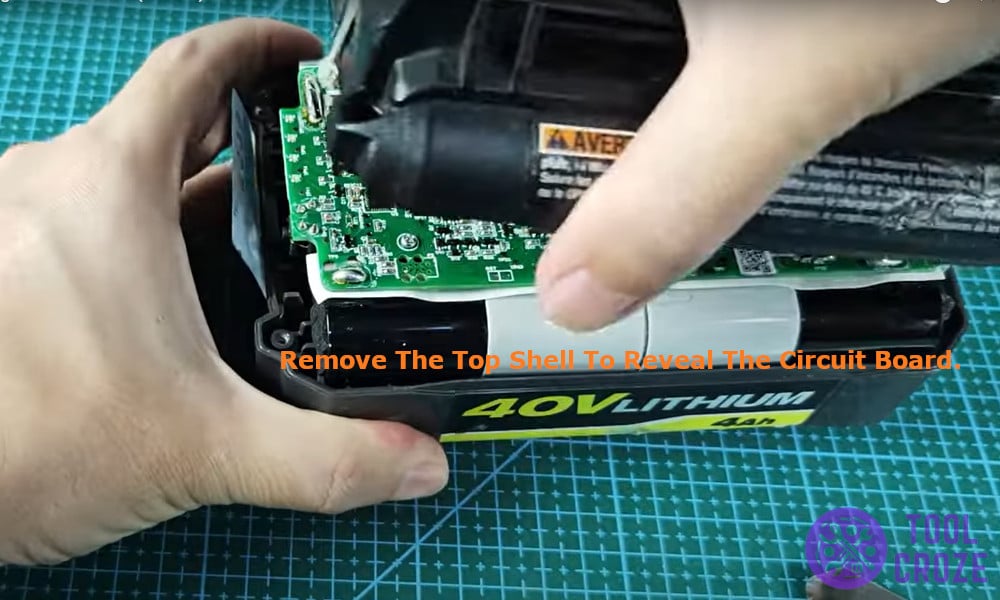
Once the screws were out, I slowly peeled the sticker off of the display lights so I can put it back on later and the casing came smoothly off.
Next, I located the reset pin on the circuit board, it is usually marked as “RST” on most of the models.
Once I spotted it, I used a short piece of thin wire to connect the “RST” pin to the one next to it, while holding the wire in place, I pressed the power button on the side of the battery.
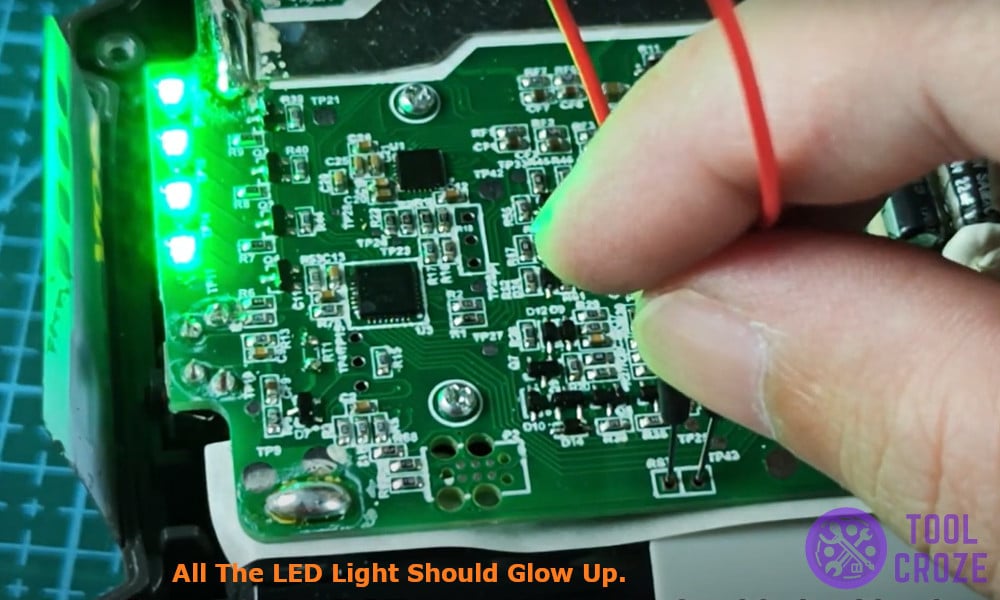
All the display lights lit up green confirming that the battery was reset, I put back the casing on, screwed the screws back on and put the battery to charge and just as I expected, the battery started charging again.
I also made a short video about this topic and you can watch it below.
Scenario 2: No light at all
This is the problem I ran into that made me document my troubleshooting, I plugged the battery into the charger as usual and nothing happened- no light, no charging, nothing.
To fix that the first thing I did was unplug and reconnect the charger before using a multimeter to check the voltage on the charger and the adapter.

I checked the voltage on the adapter first, which was around 0V which is normal as the adapter needs signal from the battery to show charge, so I decided to check the adapter next.
On the adapter it said that the voltage should be around 42V and the multimeter showed about 42V which confirmed that it was not an adapter issue but instead the charger that was at fault.
Once I confirmed that the adapter was working perfectly fine, I decided to look into the actual charger which gets difficult as identifying internal issues is not an easy task.
I started by unscrewing the screws on the body, two of the screws were under the instruction sticker that I removed carefully to be put back on again.
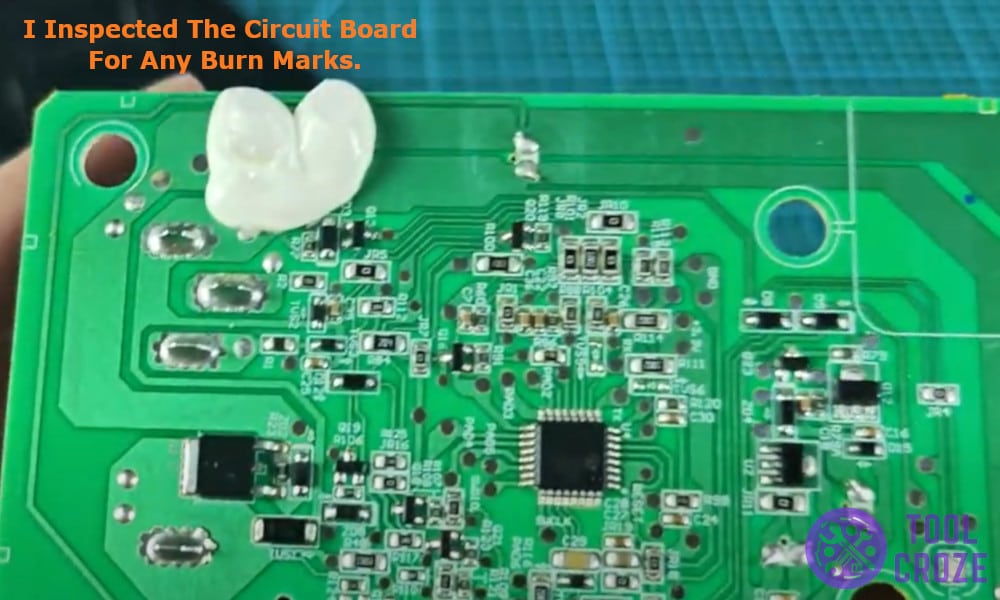
Next, I took out the circuit board and inspected for any burn marks that could help me identify the issue. Since no visible burn or short circuit was there, I started checking the main components- diodes and capacitors with the multimeter.
I started testing them one by one with my multimeter set on the diode test mode, I identified the cathode and anode of the diode and tested it by putting the red probe on the anode and black on the cathode.
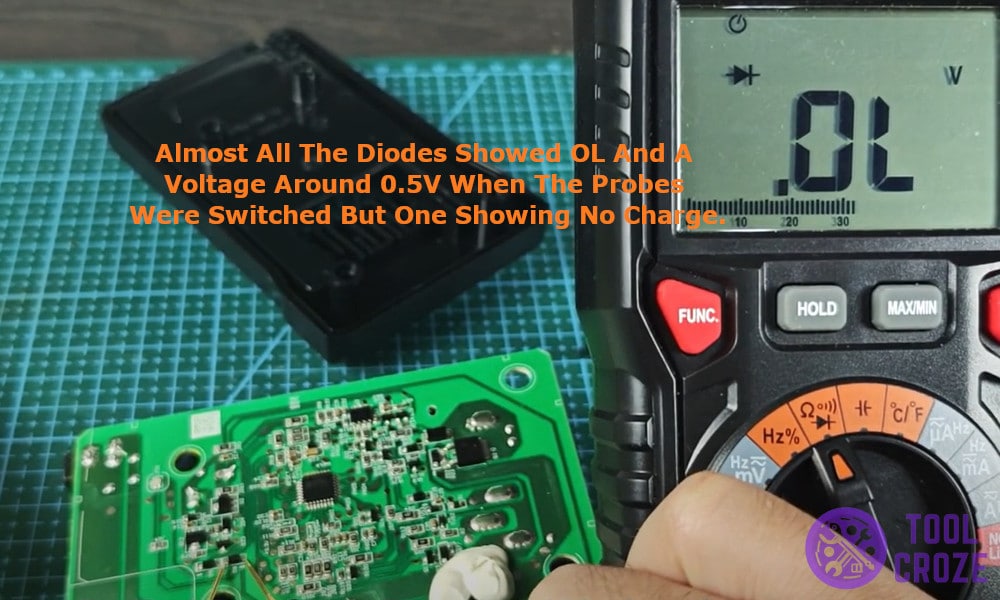
Almost all the diodes showed OL and a voltage around 0.5V when the probes were switched but one showing no charge. So I switched that diode out with a fresh one using a soldering iron.
I tested it again before closing the casing back up and tried charging a fresh battery with it and just as I thought- the battery started charging again and displaying a green light.
