How to Set a Pressure on a Pressure Tank (PSI or Bar)
On this article, I discussed the step-by-step process of setting a pressure on a pressure tank. I also made a short video about this topic and you can watch it below.
I demonstrated the 6 steps of how to set a pressure on a pressure tank on the video. Just remember, 1 Bar = 14.5038 PSI.
Step 1 – Determine the Correct Pressure
Before I could set the perfect pressure on my pressure tank I needed to check the cut-in and cut-out pressure of the pressure tank. These are two levels at which the pump turns on (cut-in) and the pump turns off (cut-out).
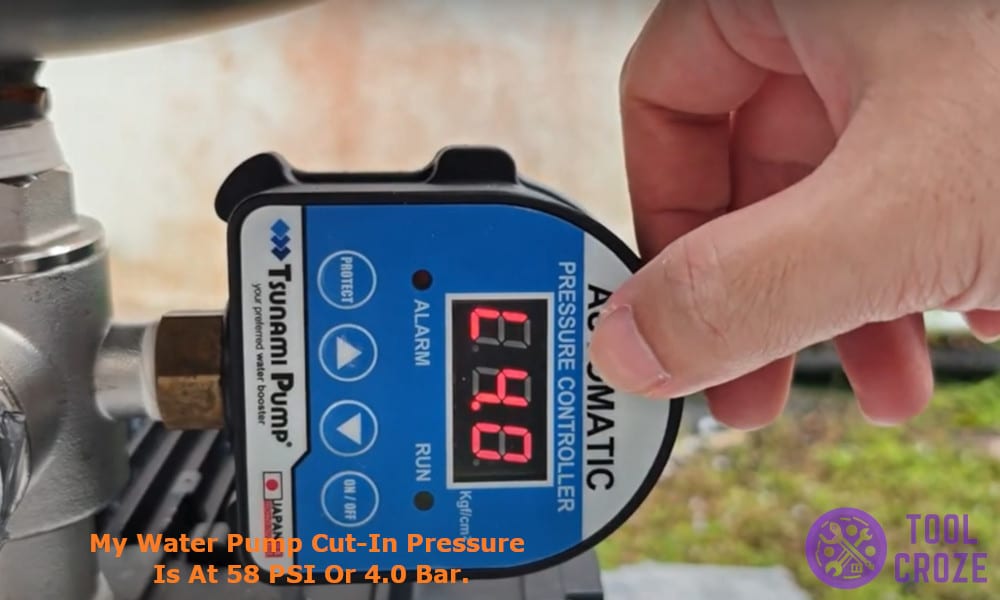
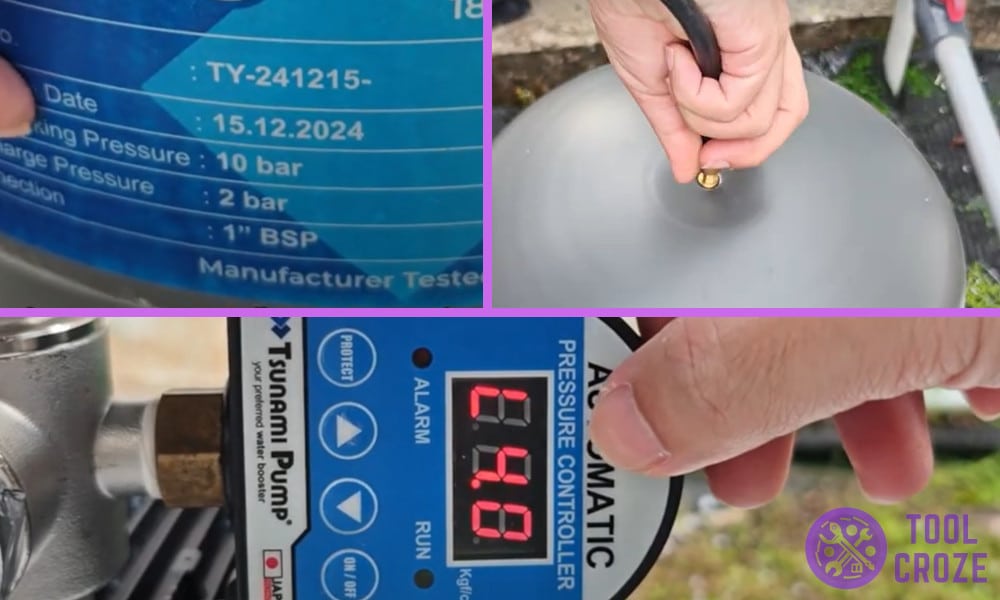
I checked mine by manually testing at which pressure my pump was kicking in, turning itself off when the pressure dropped. I found out that my water pump cut-in pressure is at 58 PSI or 4.0 Bar and the cut-out pressure is at 83 PSI or 5.7 Bar.
I also made a short YouTube video about this topic and you can watch it below. I showed how you can do this in two ways, with a digital pressure controller and without a digital pressure controller.
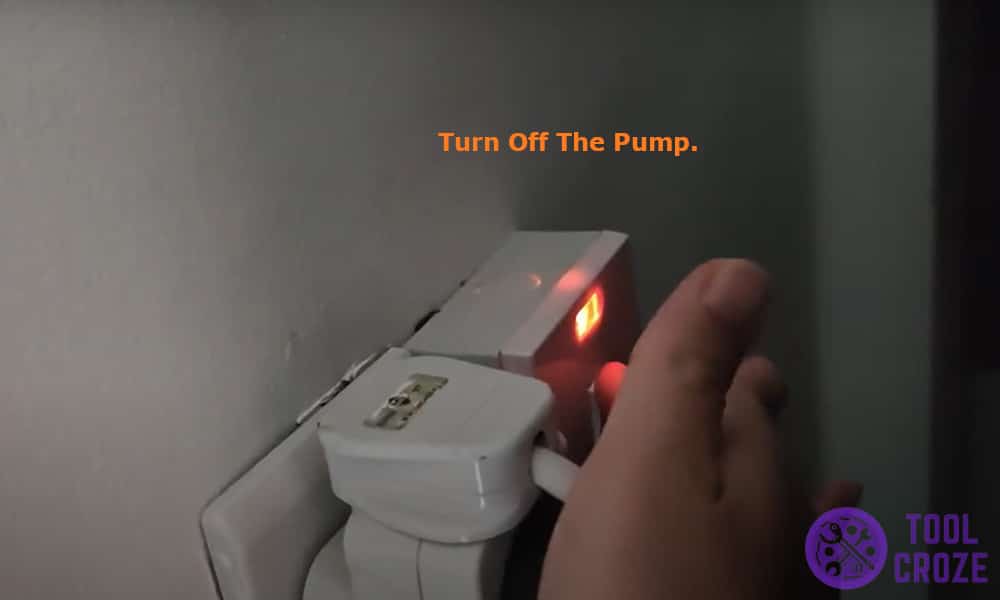
Step 2 – Turn off the Pump and Drain the Tank
This is a very important step before you set any pressure in your tank. I start by turning off the pump and disconnecting its main source of power and emptying the tank by simply leaving a faucet open.
Just leave your faucet open for a while and all the tank will empty itself as the pump is not running.
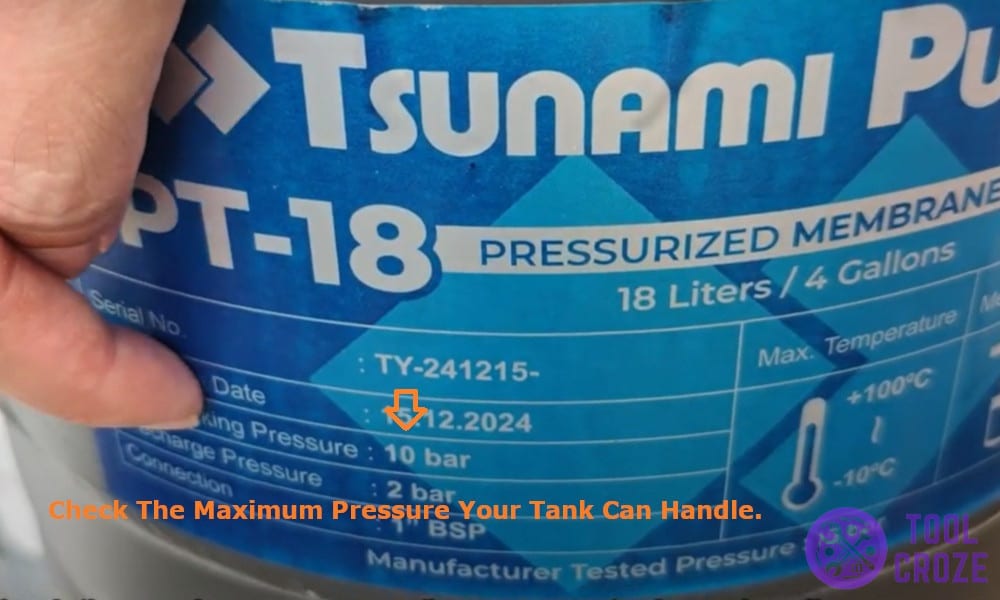
Step 3 – Check the Maximum Pressure Your Tank Can Handle
Mostly there are labels on your water tank which suggest the maximum pressure your tank can handle. You can find this value in the manual of your pump and determine what pressure you should maintain.
I would suggest never setting your pump pressure near the maximum level as it poses a risk of it exploding.
Step 4 – Determine How Much Pressure to Set
Now that I know what the cut-in and cut-out pressure were on my pressure tank I could finally set the pressure in the tank.
I always make sure to set the pressure in the tank to be exactly 2 PSI or 0.14 Bar less than the cut-in pressure of my pump. This ensures that water is pushed out efficiently even when the pump is turned off.
If the air pressure is too high, the bladder may not expand properly, reducing the tank’s water holding capacity. If the air pressure is too low, the pump may turn on too soon causing short cycling which can wear out your pump.
Make sure to keep it 2 PSI or 0.14 Bar less than the cut-in pressure.
Related: How to Reduce Pressure in Pressure Water Tank
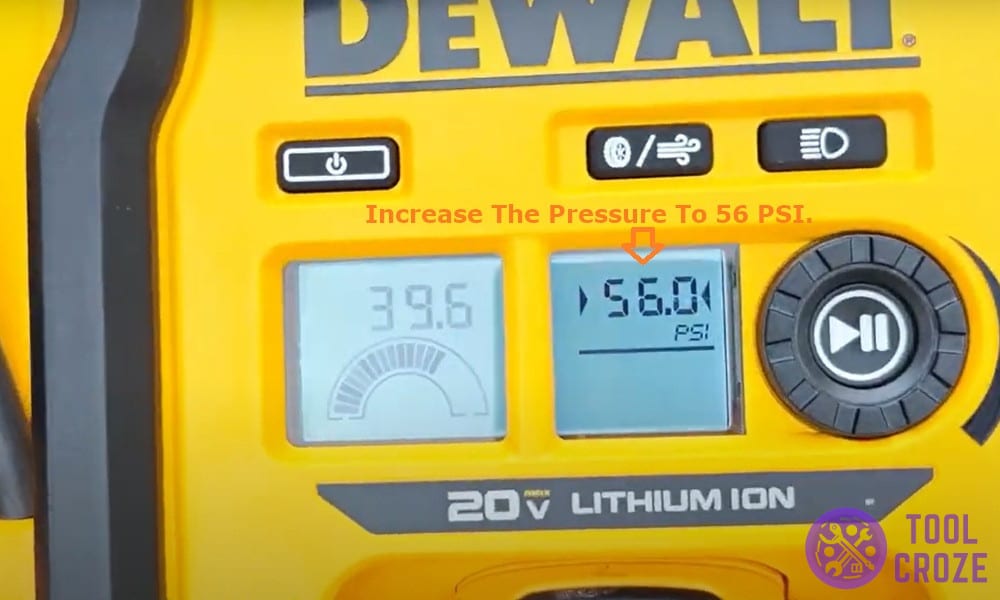
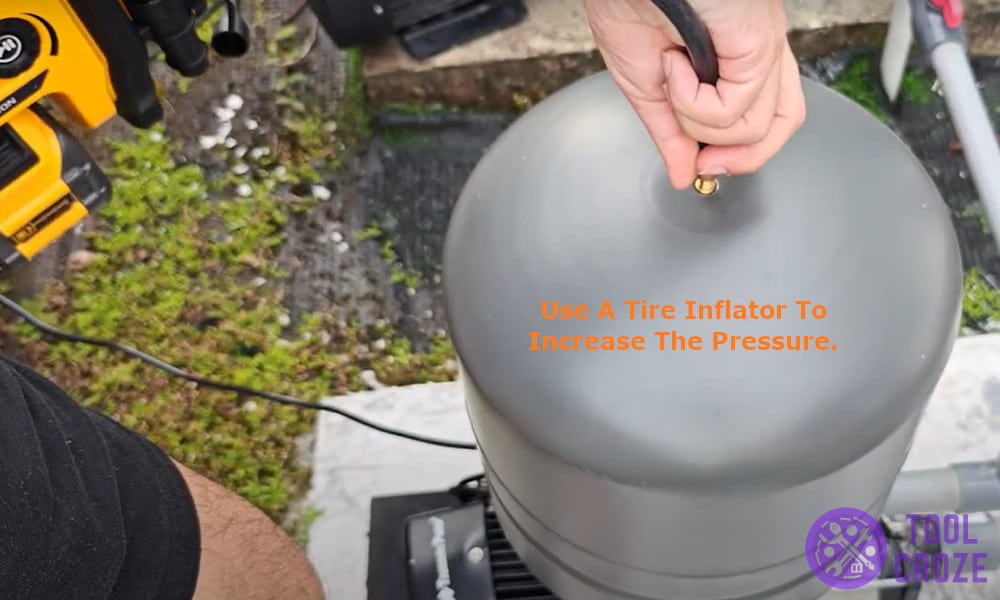
Step 5 – Increase the Pressure
I used an air pump to add pressure. I used my DeWALT pump and set it to 56 PSI or 3.86 Bar and let the pump run to match the pressure. Once done, I removed the pump from the pressure water tank and closed its head.
Step 6 – Restore Power and Test System
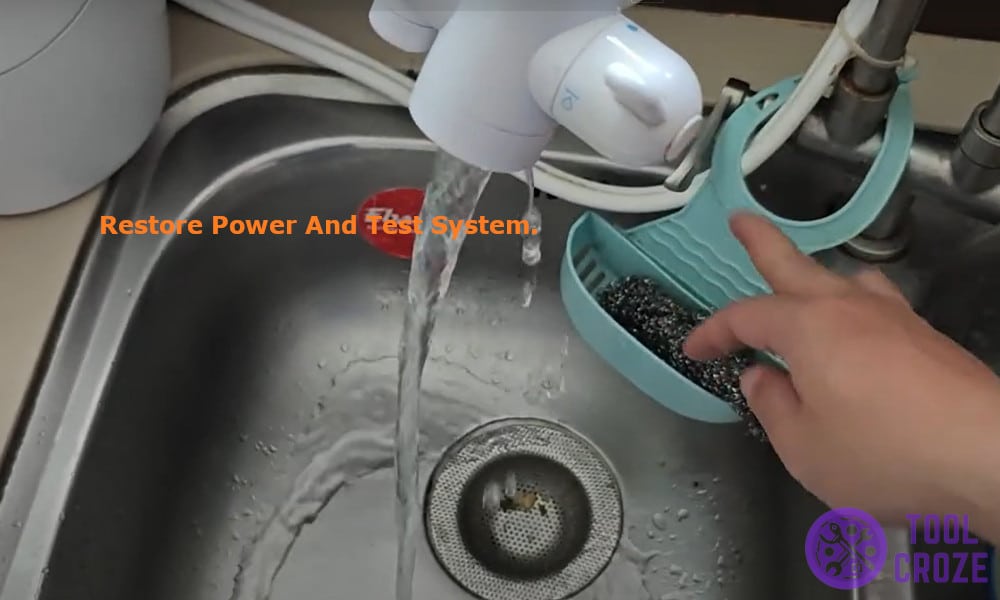
After completing all the steps and adjusting the pressure I connected the pump back to its main power source and tested the system. The water level was consistent around the house and everything worked smoothly.
